
If you are confused about which car ski rack you should buy, there are some factors you should keep in mind. Some of these factors include the following:
-
Table of Contents:
Know the Equipment You Will Carry
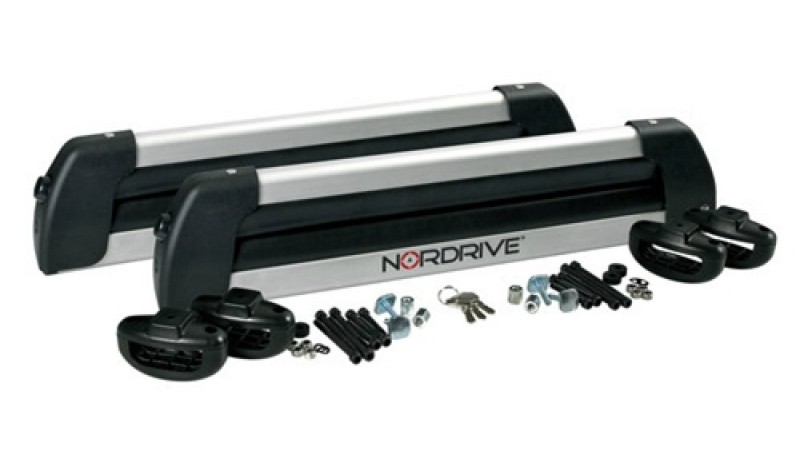
Not every rack may handle the same number of equipment, so it is essential to check your new carrier may hold as much as you require. Majority of racks may hold around 4 snowboards or 6 pairs of skis. If you are not sure it could hold as much as you require, you should check customer reviews or ask manufacturer.
-
Loading and Unloading
Another thing you should keep in mind is how simple your rack is to unload and load. To make the things easier in a cold condition, it is worth looking out for big release buttons on the rack. It means you do not have to take off gloves to get at your ski, which is an extra bonus in a snowy condition such sports need.
-
Budget
Ski racks may range in price. So, depending on your budget, choose the one that would fit for your allotted money and needs.
Installing a Car Ski Rack
Typically, installing a car ski rack is a simple task, which you may do at home without any tools or DIY credentials.
The process will differ depending on the manufacturer, yet when installing a ski rack on the existing crossbars of your car may include the following steps:
-
Determine on Positioning
Before mounting your car ski rack, you should work out where you’d want it to install. Others like to install this symmetrically in the roof’s middle part or off to a side for much easier access.
-
Snap Mounts to the Crossbar
Do this through attaching the supplied mounts to the crossbars in your preferred locations, staring from your car’s rear and working forward. Every mount must snap into place quickly.
-
Attach Ski Rack
Set your rack on top of your mounts and move that to your desired position. The hole in the mount must line up with corresponding hole in the rack. Then, slide the provided bolts through 2 holes from front to back.
-
Bolt Rack in Place
Open your ski rack before threading supplied wing nuts to the bolts. The rack’s top half serves to lock the wing nuts in place. See to it that the rack is in place tightly.
-
Repeat the Process
Repeat the process of bolting with the other rack.
Tips to Make the Process Easier
Make sure not to under or over tighten the bolts for the reason that it could risk damaging your car. You should also use a bit of copper grease on mounting bolt threads to make removing these easier in the future. Getting rid of the roof rack when you aren’t using it is important. It won’t only improve your fuel economy, but also it would keep the rack away from the harsh condition of the weather.
Also dont miss an article with title “How to Enter the Auto Cosmetics Industry“.
Similar Posts from the same Category:
- Important Considerations When Choosing Car Motor Oil
- Parcels, heavy luggage and cars
- More space in the car and less problems
- A Quick Guide on Car Sun Shades
- Top Reasons to Get New Seat Covers for Your Car